Genesys Cloud
How to Set Up Roles in Genesys Cloud
This guide walks you through configuring roles in Genesys Cloud and assigning them to users for OAuth2 authentication with Deepdesk.
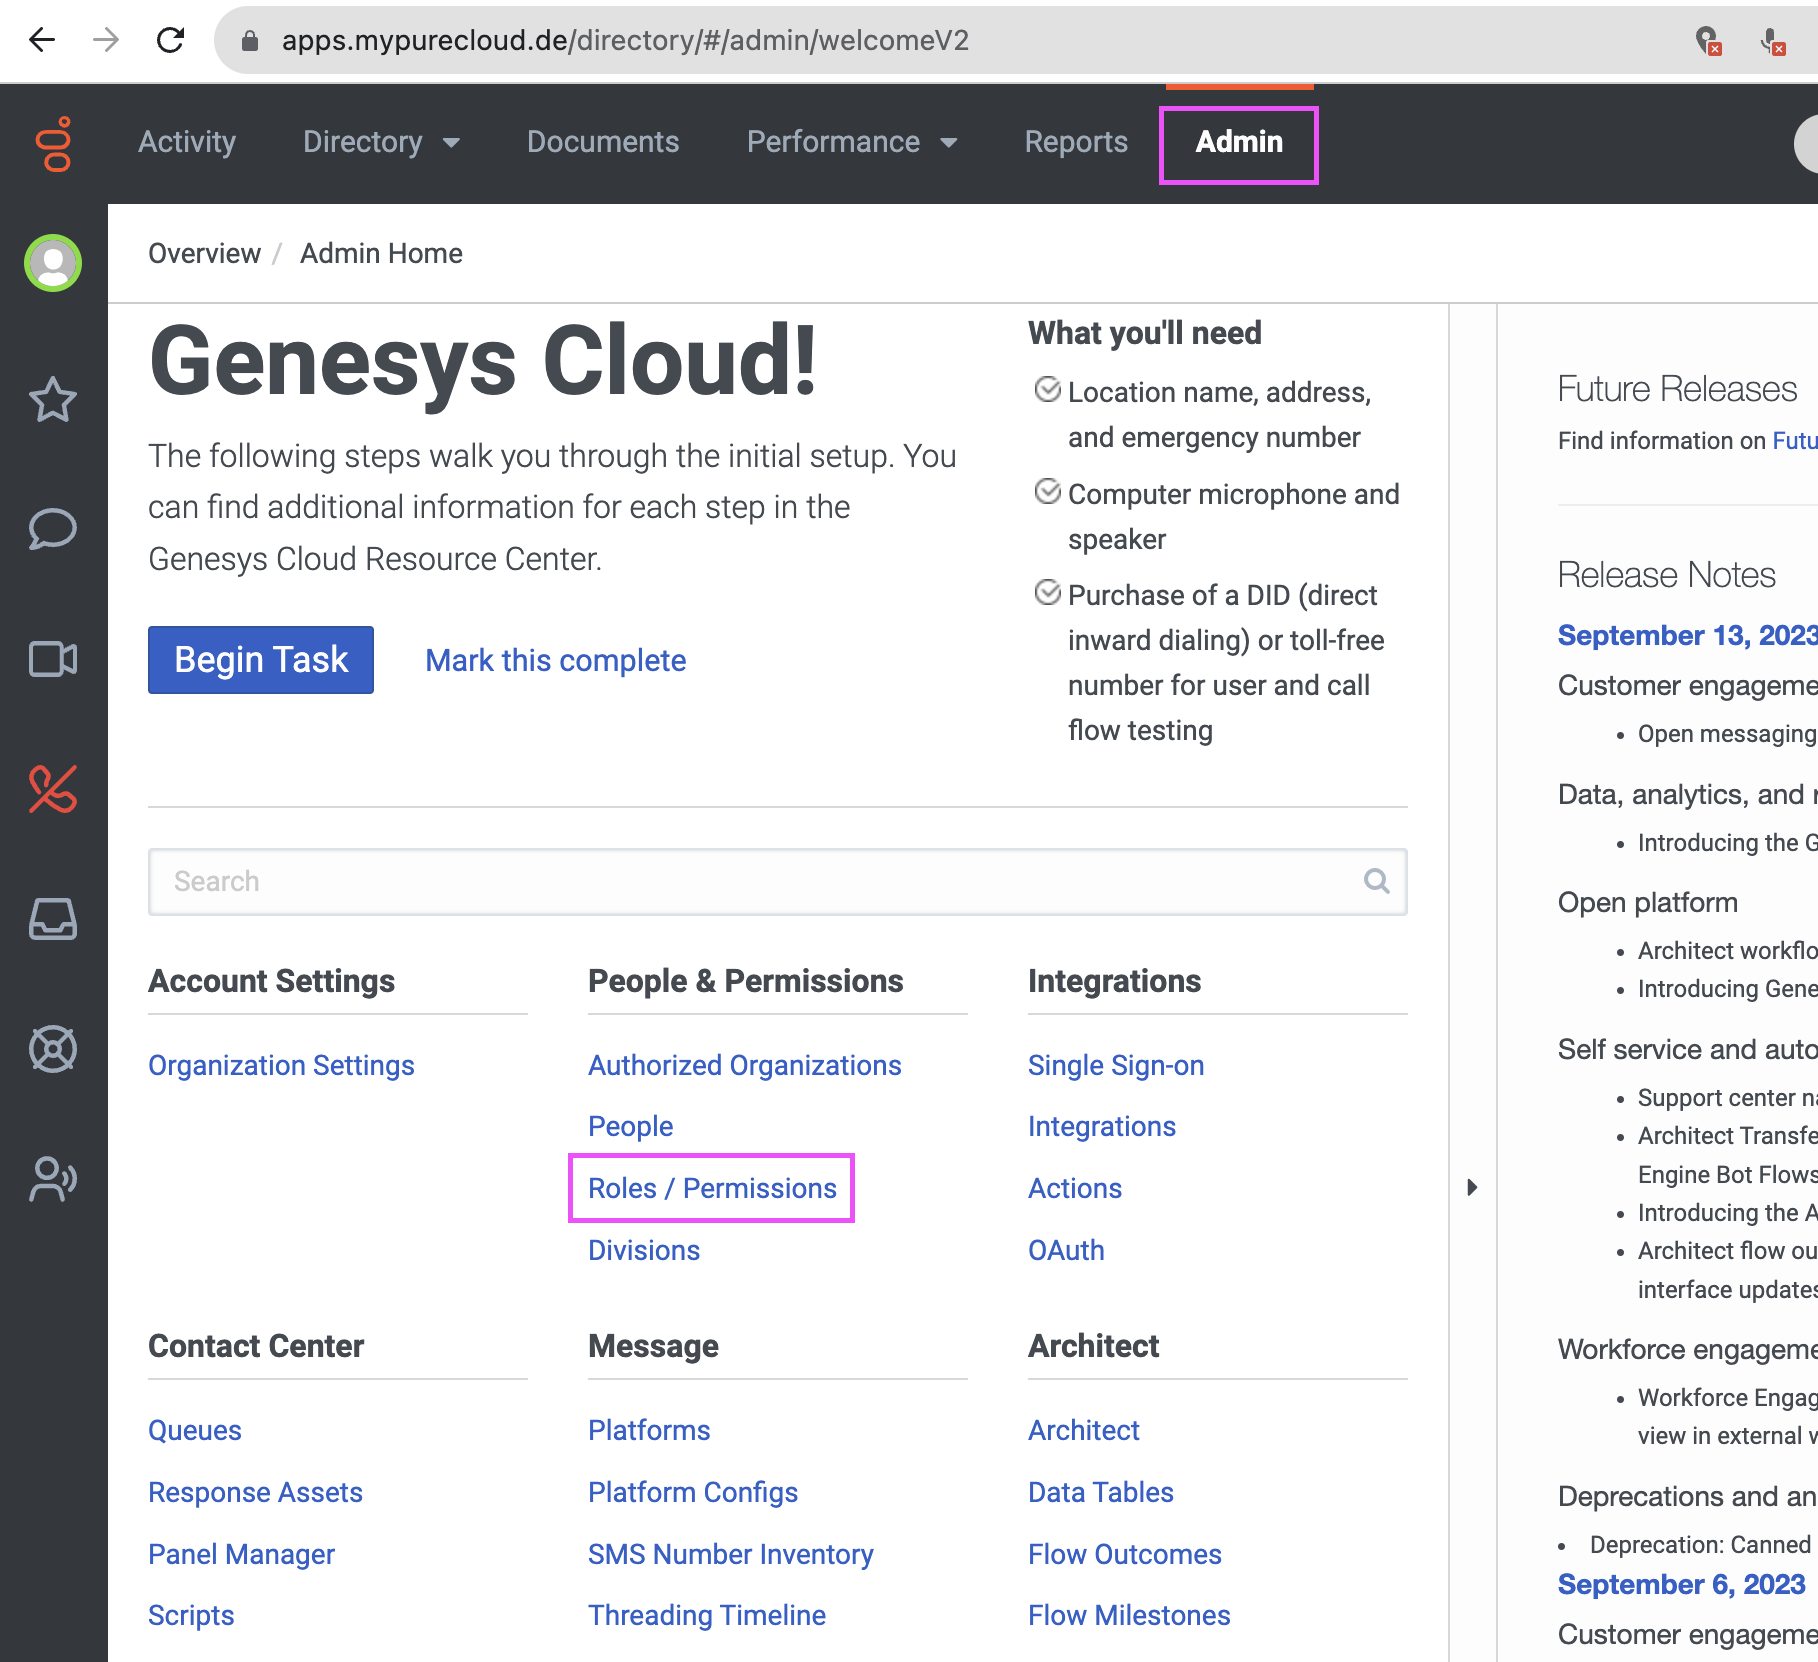
Step 1: Navigate to Roles/Permissions
Navigate to the Admin section and choose Roles/Permissions from "People & Permissions".
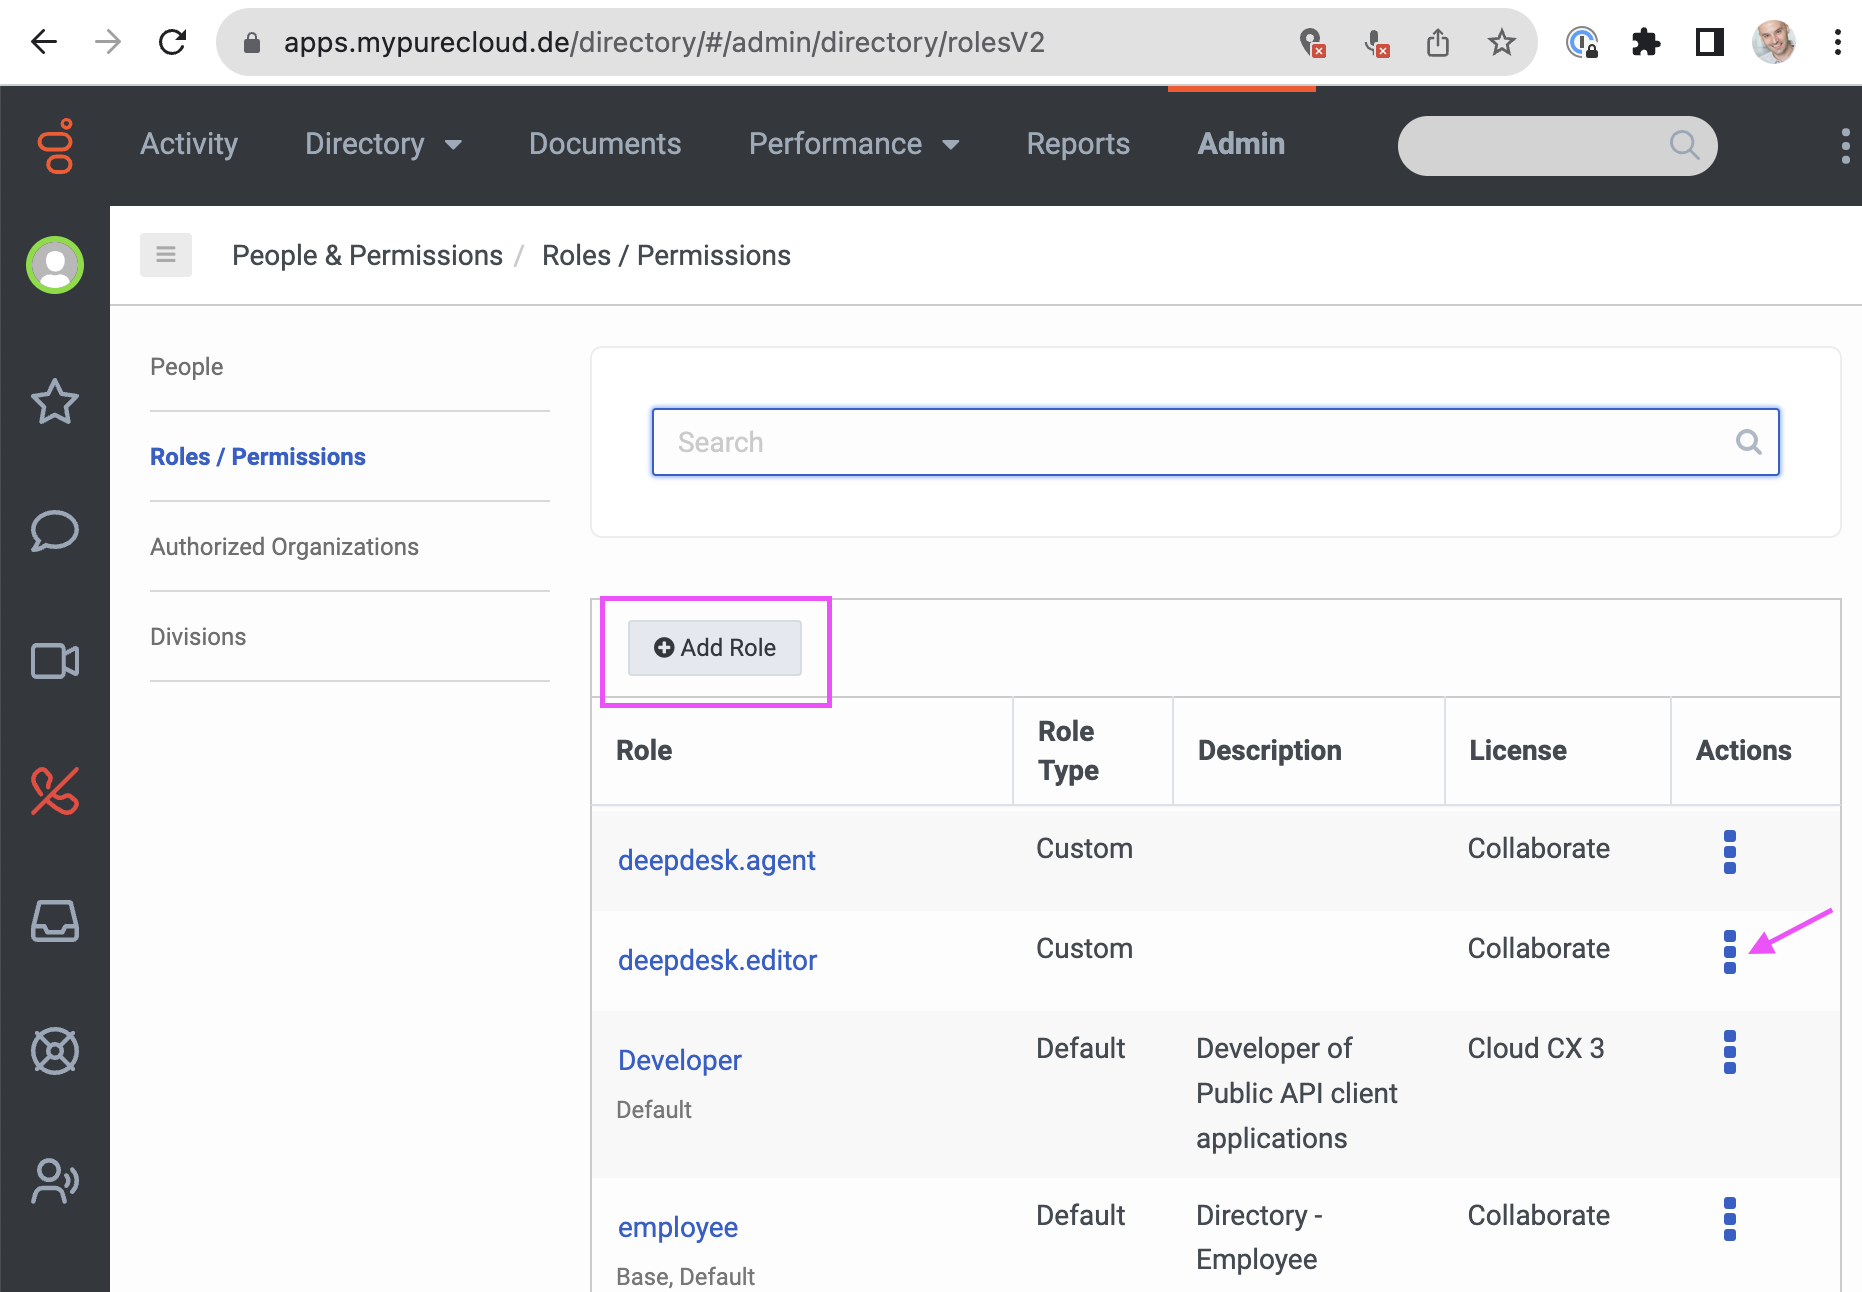
Step 2: Manage Roles
You should see a list of roles. To manage roles:
- Add a role: Click the
+ Add Rolebutton - Edit an existing role: Choose the
Actionsicon and selectEdit Role - Delete a role: Choose the
Actionsicon and selectDelete Role
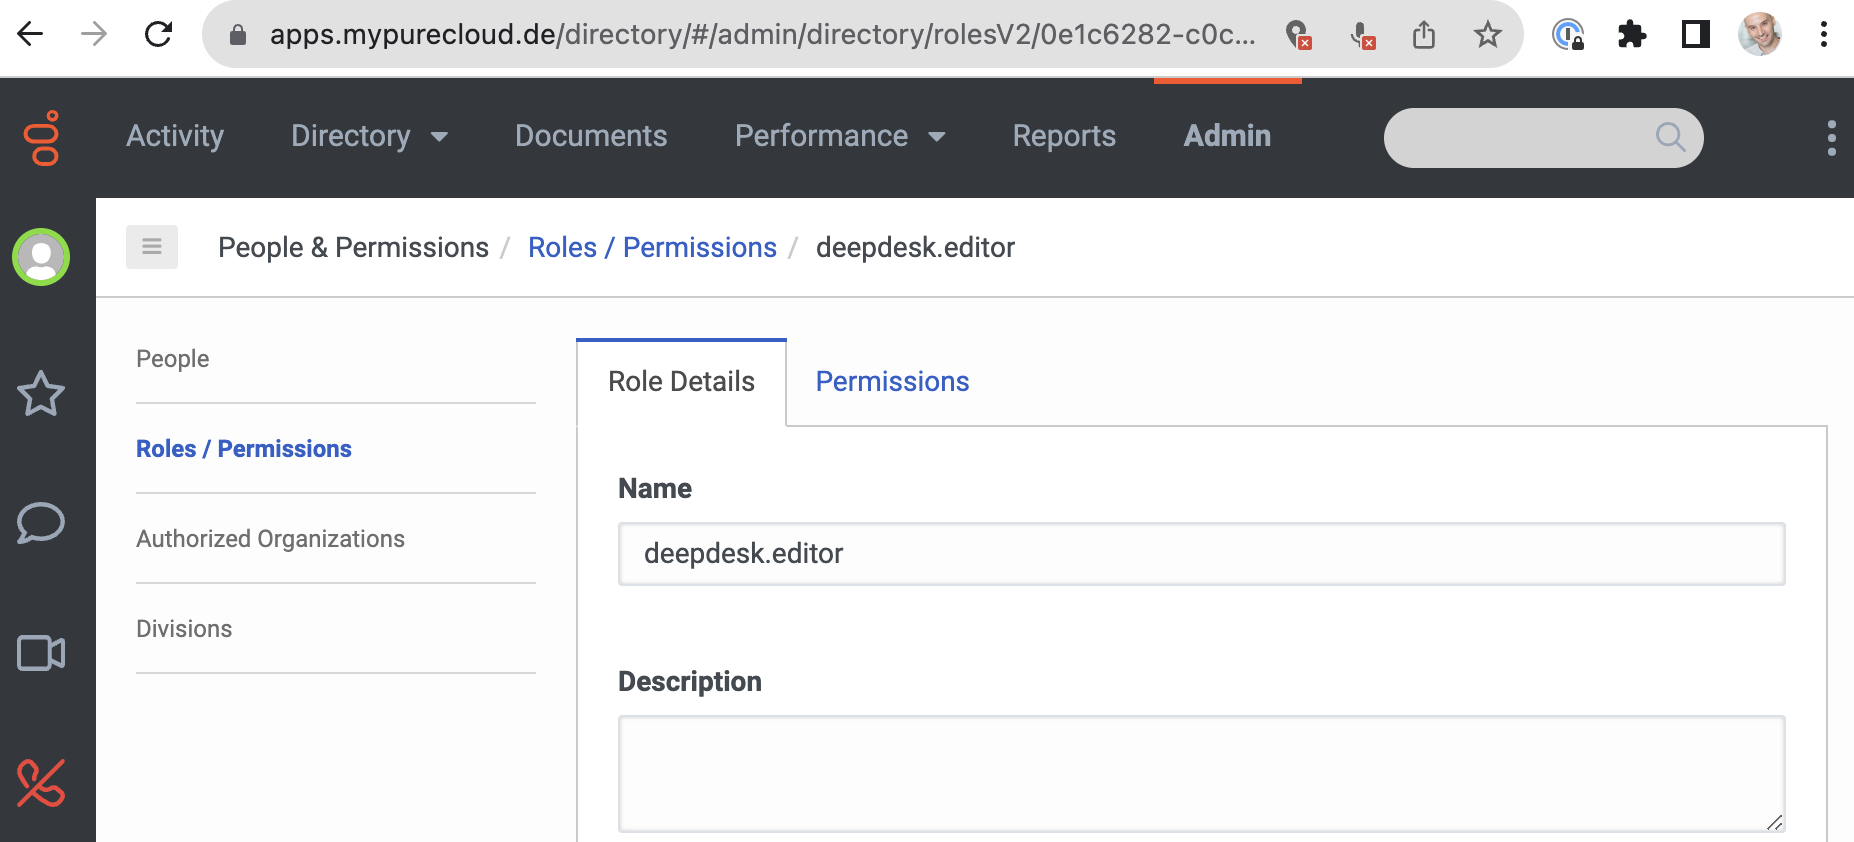
Example role configuration:
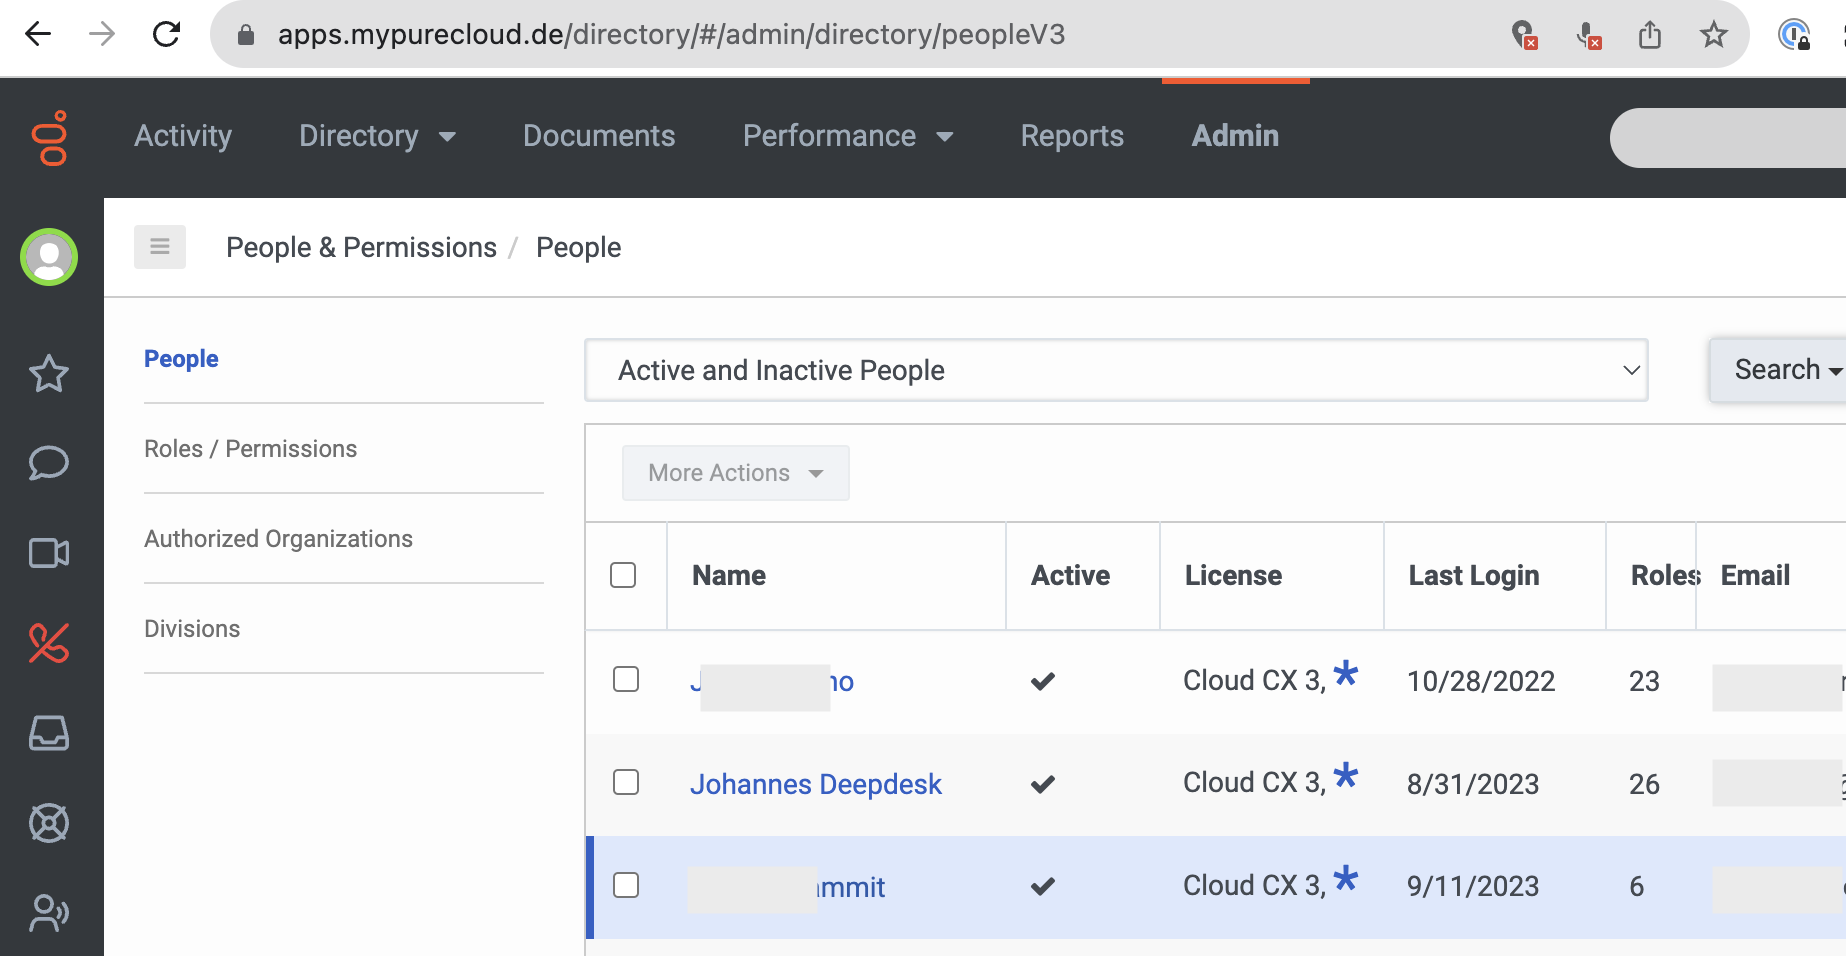
Step 3: Navigate to People
To assign role(s) to a user, start by selecting the People link from the Admin section:

Step 4: Select User
Select your user from the list:
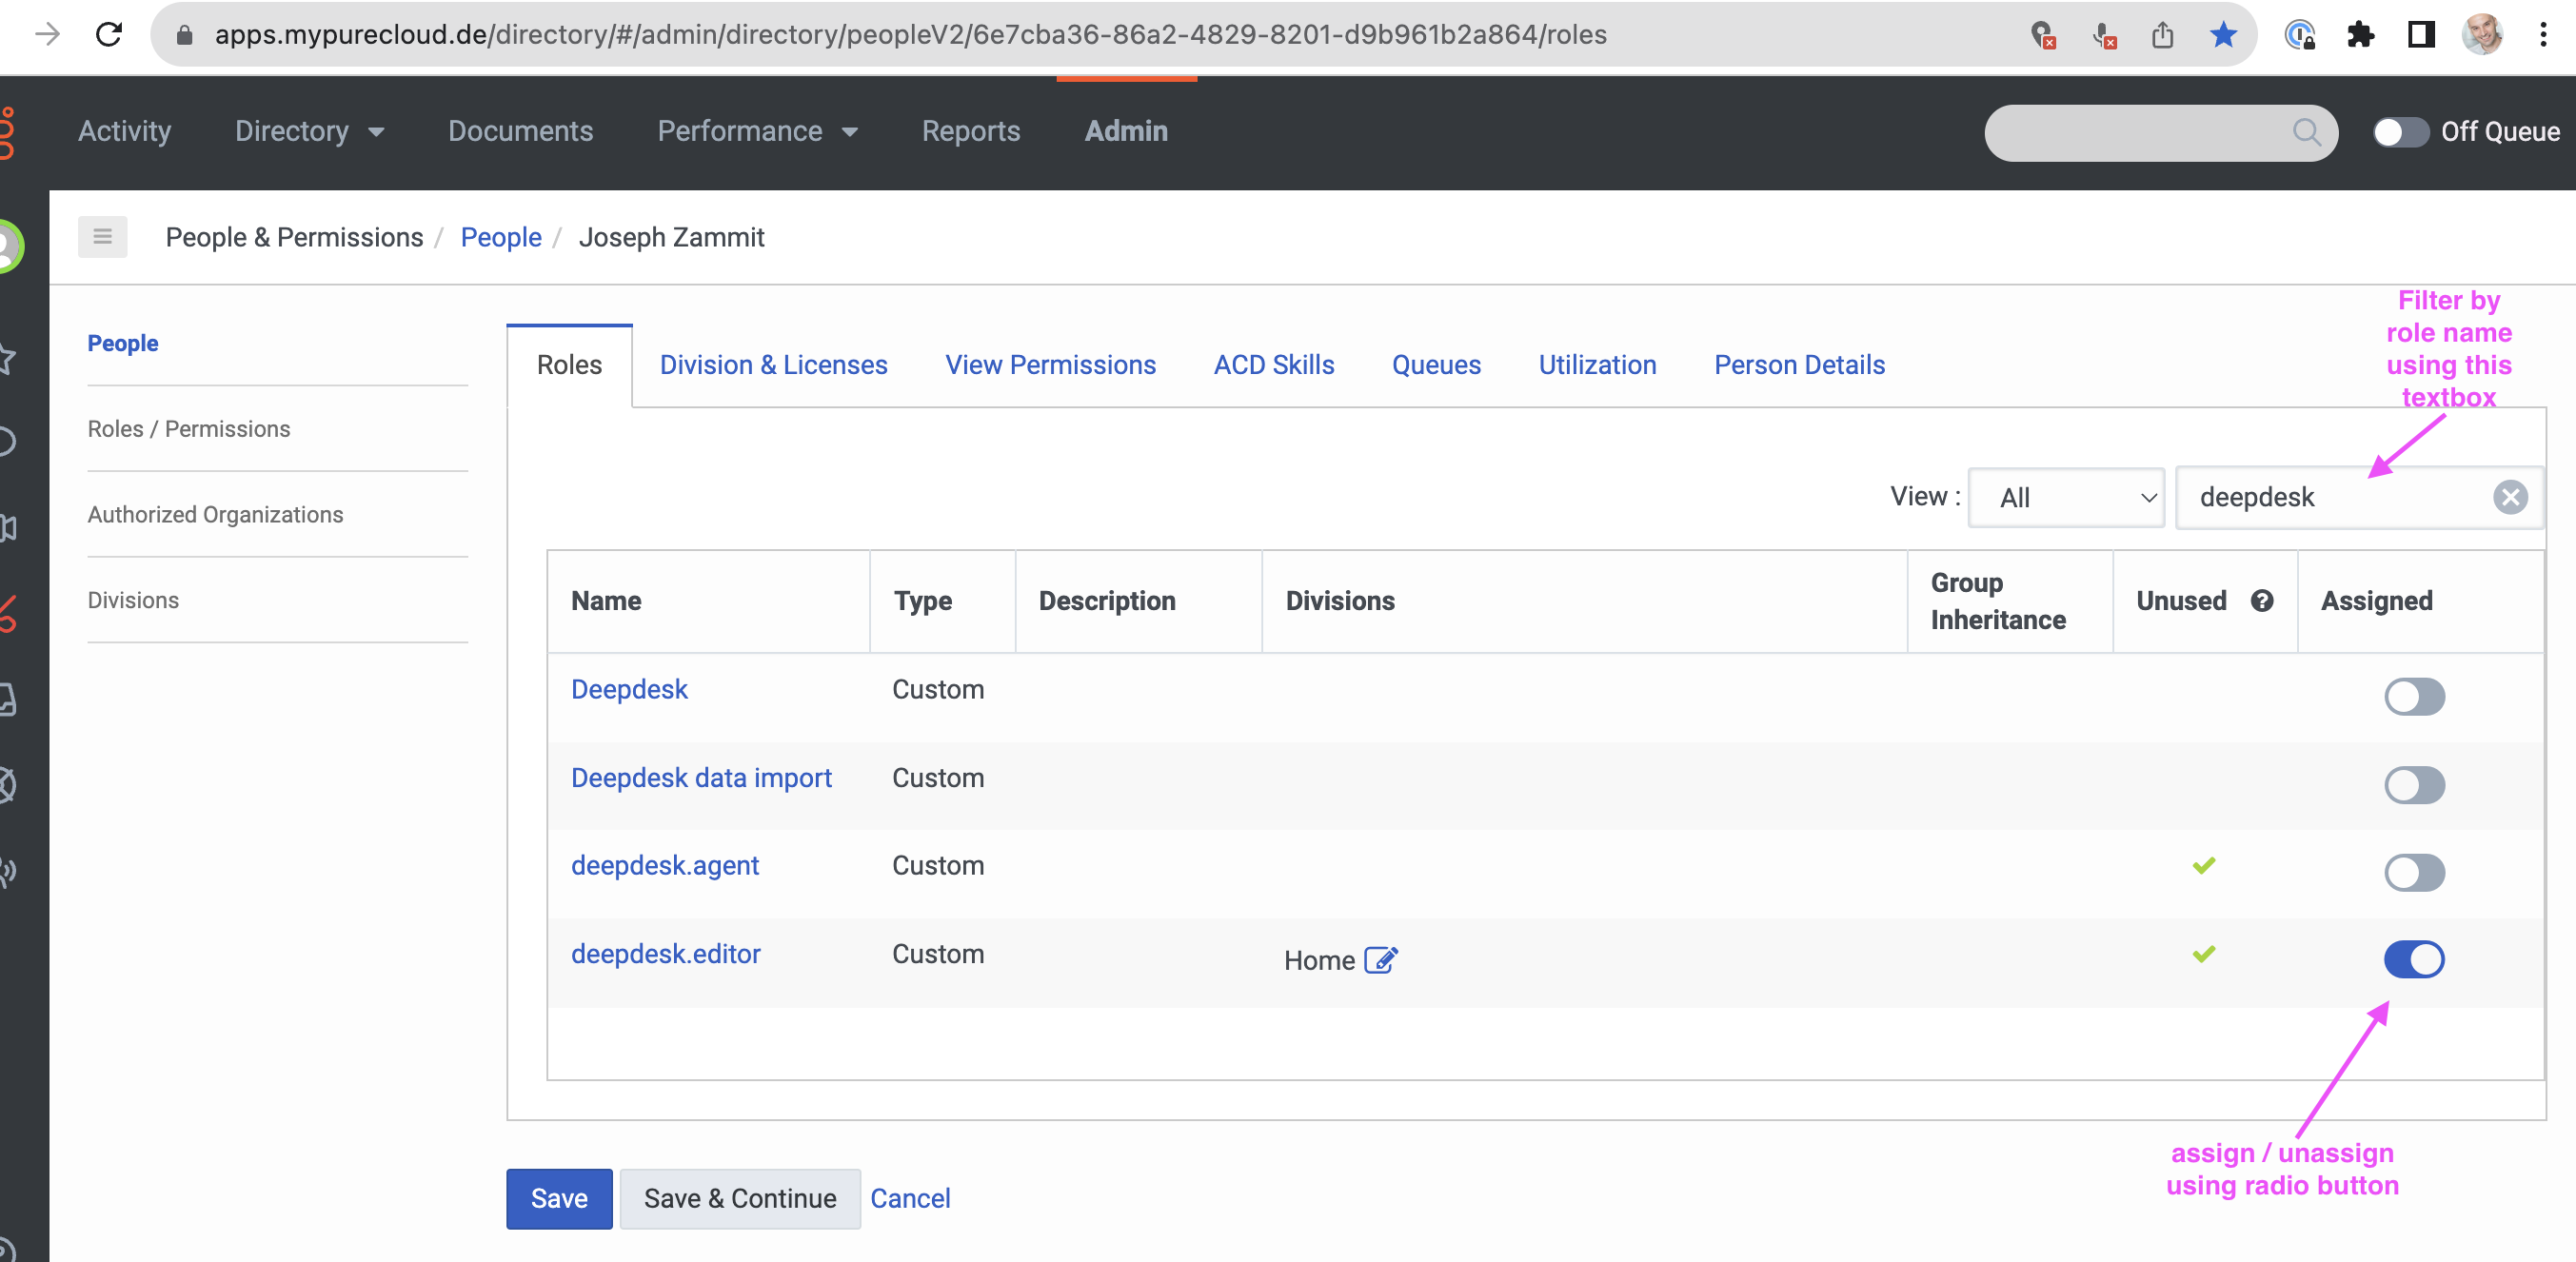
Step 5: Assign/Unassign Roles
Finally, assign or unassign roles to the user:
- Filter roles: Enter text to filter to a Deepdesk role
- Select role: Use the radio button in line with the role to assign/unassign
- Save changes: Remember to click the
Save & Continuebutton!
Role Integration with Deepdesk
When a user authenticates via Genesys Cloud SSO, Deepdesk:
- Retrieves the user's role information from Genesys Cloud API
- Maps the Genesys Cloud role to the corresponding Deepdesk role
- Assigns the appropriate permissions to the user
Common Deepdesk Roles
deepdesk.agent- Standard agent accessdeepdesk.editor- Editor privilegesdeepdesk.manager- Manager access
Important Notes
Unlike OIDC-based authentication (like Microsoft Entra), Genesys Cloud requires a custom implementation to read user roles from the platform API. This implementation is already in place for Genesys Cloud integrations.
Next Steps
Once roles are configured in Genesys Cloud, users will automatically receive the appropriate permissions when they authenticate to Deepdesk.
See OAuth2 Roles for more information about how Deepdesk handles role assignment.